

The season for hot chocolate, journaling, and new resolutions has arrived! Looking for new ideas on how to make a journal? Add a personal touch to your project with this step-by-step guide on how to prepare a journal of your own.
What you will need:
- Camlin Scale
- Colourful papers
- Papers with interesting prints
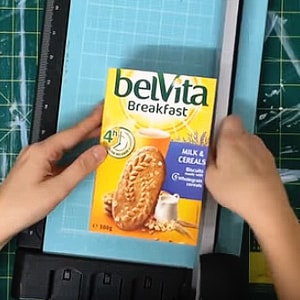
- An empty biscuit paper box
- Camlin White Glue
- Pins
Step 1
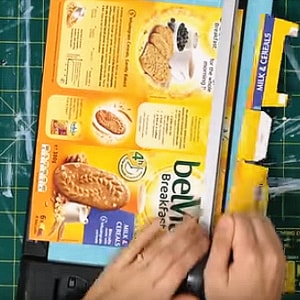
Cut the empty biscuit paper box open and cut out the uneven edges using a scale, as shown in the image below.
The final cut-out should be in the shape of a book cover.
Step 2
Cut out the book cover from a colourful paper of your choice. This could even be a paper with some interesting prints and designs on it. This cover needs to be in the shape and size of the paper we cut out in the previous step.
Step 3

Now take the paper cut out from step 1 and add some glue to it. Spread it evenly across the paper surface using a brush.
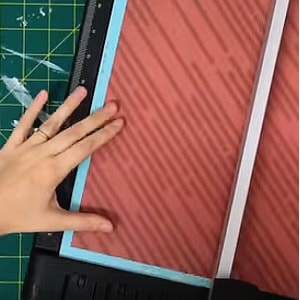
Step 4
Put the cover paper on top of the glue and press gently with your hand to make sure the papers stick together neatly.
Step 5
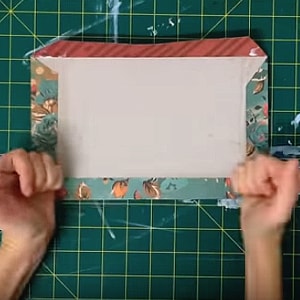
You will have some extra bit of cover paper after you finish step 4. Add glue to the four inner sides of the paper and stick the remaining portion of the cover paper on them, as shown in the image below.
Step 6
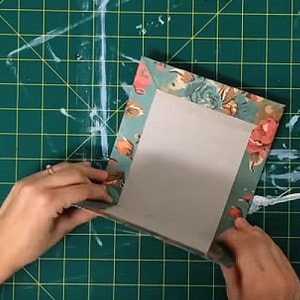
Fold gently towards the middle of the paper, as shown in the image below. Once this is done, your journal cover is ready.
Step 7
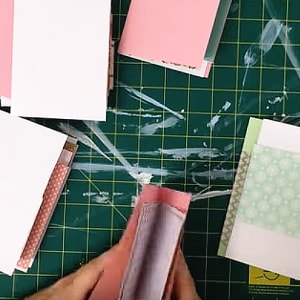
Next, pick the papers that you would like to add inside the journal and cut them into a size smaller than the cover.
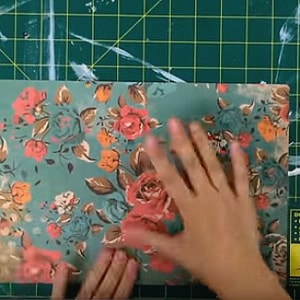
Step 8
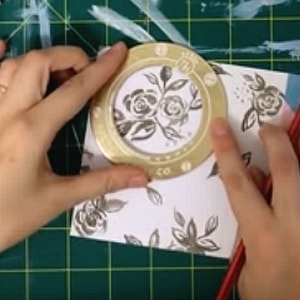
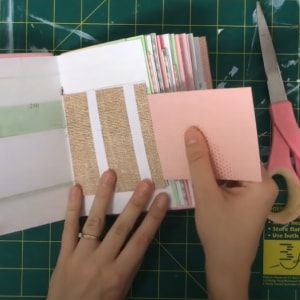
To decorate your journal’s cover, you can use paper with interesting prints. Cut out shapes that you prefer and stick them to your journal.
Step 9
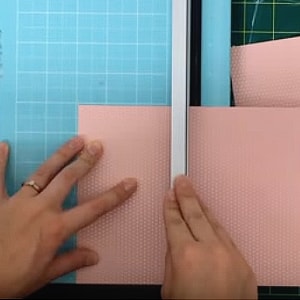
Take all the papers that you will use as pages inside the journal and fold them, as shown in the image below.
Step 10

Start pinning the papers together so that they don’t move when you give them for binding.
Step 11
After binding, your journal is ready to be used!


Did you try making your own journal by following these steps?
Share your experience with us in the comments below.
Leave a comment
Comment added
Comment updated
Comment deleted
More inspiration


“
“Every colour has a purpose. An artist must keep this purpose in mind while handling it to get the most of it.”