

Summer vacation is a much-awaited time in a student’s life. Creating art and craft is a great way to spend time during vacation as it makes learning fun! This particular craft project is a two-in-one fun fiesta where you will learn how to make paper flowers and also the pot that goes along with them.
What you will need:
- Glue gun
- Camlin White Glue
- Scissors
- 8 cupcake liners per flower
- 1 button/jewel per flower
- Pipe cleaner/stick
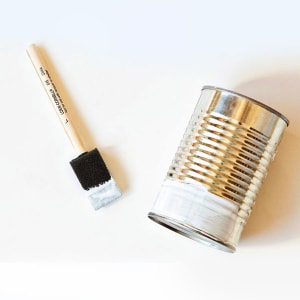
- Tin can
- Tissue paper
- Mod podge
- Foam paint brush
Here is a step-by-step guide on how to make paper flowers with cupcake liners. You can teach your toddler this fun summer vacation craft idea, this year!
Step 1
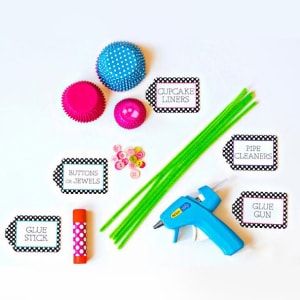
Gather all the tools needed to make this craft.
Step 2
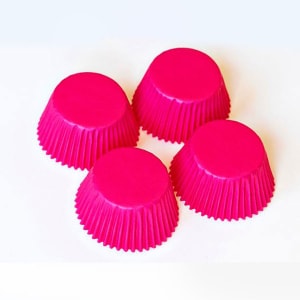
Get your cupcake liners ready. You can use either just one colour or multiple colours of cupcake liners for this vibrant bouquet.
Step 3
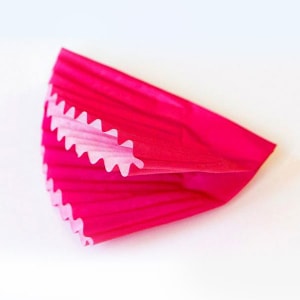
Fold each of the cupcake liners in half, as shown in the image below.
Step 4
Fold the liner further into a quarter, as demonstrated in the image below.
Step 5
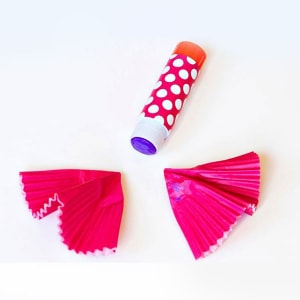
Next, fold one of the quarters further in half and then fold down the tips in the opposite direction from each other so that it has the folds of a Chinese fan.
Step 6
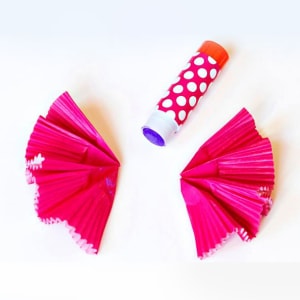
Take two liners and, using glue, stick them together. Hold them together for about 30 seconds, after which you can set them aside to dry. Next, glue two more liners together and hold them together tightly. Repeat this action until all the cupcake liners are glued in pairs.
Step 7
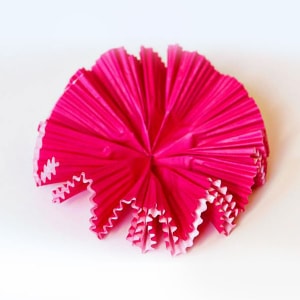
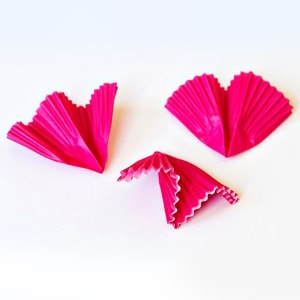
Gently stretch all the pairs of liners into a circle, as shown in the image below.
Step 8
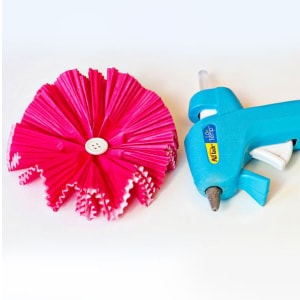
Turn the flower and glue a button or a jewel in the centre.
Step 9
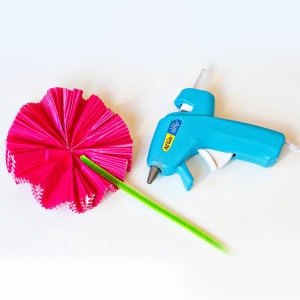
Using a glue gun, stick a pipe cleaner to the back of the flower to make the flower’s stem.
Step 10
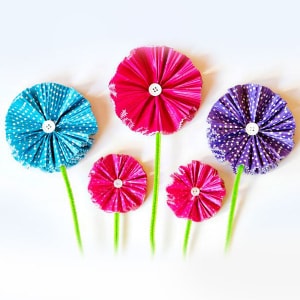
Repeat all the steps to make a bouquet.
Step 11
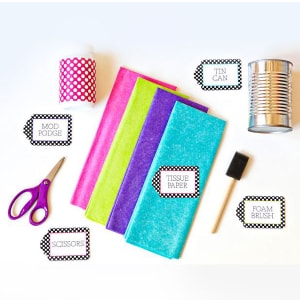
Gather all the materials kept aside to make the flower pot.
Step 12
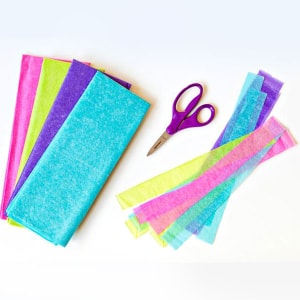
Cut the colourful tissue papers into straps, as shown in the image.
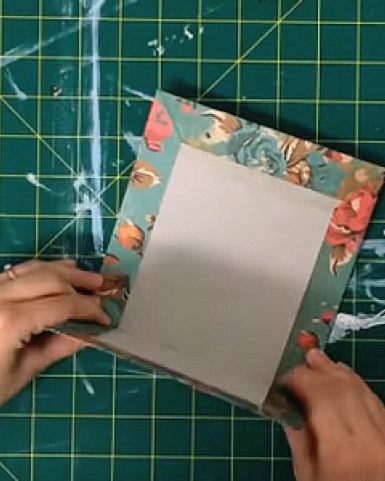
Step 13
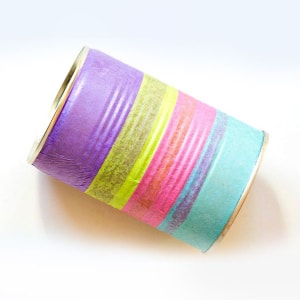
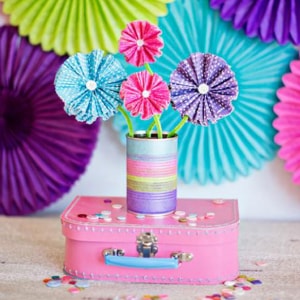
Paint the tin can with the foam brush using the Mod Podge and stick them around the tin. Once the entire can is covered in colourful tissues, simply add the flowers and your DIY pot is ready!

Did you try out this paper flower DIY idea?
Share your experience with us in the comments below.
Leave a comment

Comment added
Comment updated
Comment deleted
More inspiration
“
“Artists are just children who refuse to put down their crayons.”