
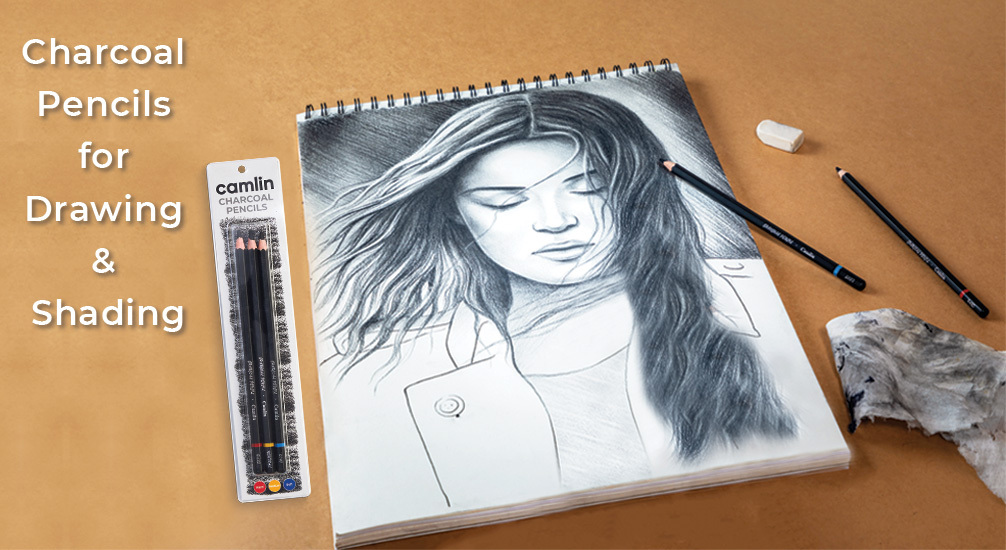
We all use normal pencils for drawing. But charcoal pencils could be your next favourite drawing tool. It is basically made by burning wood in a low-oxygen environment. You can use charcoal in the form of a soft charcoal pencil, a hard pencil or an intense stick. Either way, it pays off a rich pigment that is easy to layer, blend or smudge. All the life-like portraits and 3D-like drawings are made with charcoal pencils.
Here we discuss why charcoal pencils are good for drawing and sketching and the tips to shade with charcoal pencils.
Forms of charcoal you can use for drawing
Charcoal is sold in the form of pencils, vine charcoal and stick charcoal. You can use all of these varieties to sketch and shade.
1. Charcoal pencils
You can use these for detailed drawing and shading. Camlin Charcoal Pencils are one of the best charcoal pencils for drawing. They are available in soft, medium and hard grades.
- The hard variant is perfect for precise line work.
- The medium variant works well for creating defined strokes.
- The soft variant excels at shading and filling large areas smoothly.
2. Vine charcoal
It is made with burnt willow sticks. It is smooth in texture and glides on lightly. It gives grey tones that look like silver. You can use vine charcoal for light shading and shading big spaces.
3. Stick charcoal
The charcoal stick comes in both hard and soft varieties. It can be used for deep black strokes, fill in shadows and get rich effects.
Why use charcoal for drawing and shading?
Artists love charcoal pencils for so many reasons:
- Easy to blend: Its powder-like texture blends easily. It creates beautiful gradients
- Versatile: You can try multiple techniques, from bold strokes to soft shading
- Easy to correct: Made a mistake? Just erase it and try again.
- Great contrast: Create stunning light and shadow effects with soft and medium-grade charcoal pencils
- Eco-friendly: Do not worry about the environment. Charcoal pencils are sustainable.
Tools you will need with charcoal pencils
You need basic materials like paper, an eraser, a sharpener, etc. to draw with charcoal. Collect the mentioned materials and start your charcoal drawing.
- Paper: A textured paper is better in this case. The charcoal sticks better.
- Kneaded eraser: This one is better as it does more than just erase. It lifts the shaded area, creates highlights and can spread charcoal all over.
- Blending stump: Use a blending stump to smudge and blend the shaded areas.
- Fixative spray: After you are done, apply a layer of Camel fixative spray on your drawing. It prevents smudging in the future.
- White chalk: White chalk can add highlights and dimension. White and black add contrast.
Is there a right way to hold a charcoal pencil?
Charcoal pencils have a powder-like consistency so if you do not hold them correctly, you can create a mess.
Do not put your wrist on paper and grab the pencil softly. You do not want to smudge your sketch as you move along. If you are uncomfortable at first, try holding the pencil at different angles.
How to blend with charcoal?
The next step after drawing is blending. Charcoal portraits and fine sketches need proper blending. Use these tools to master blending with charcoal:
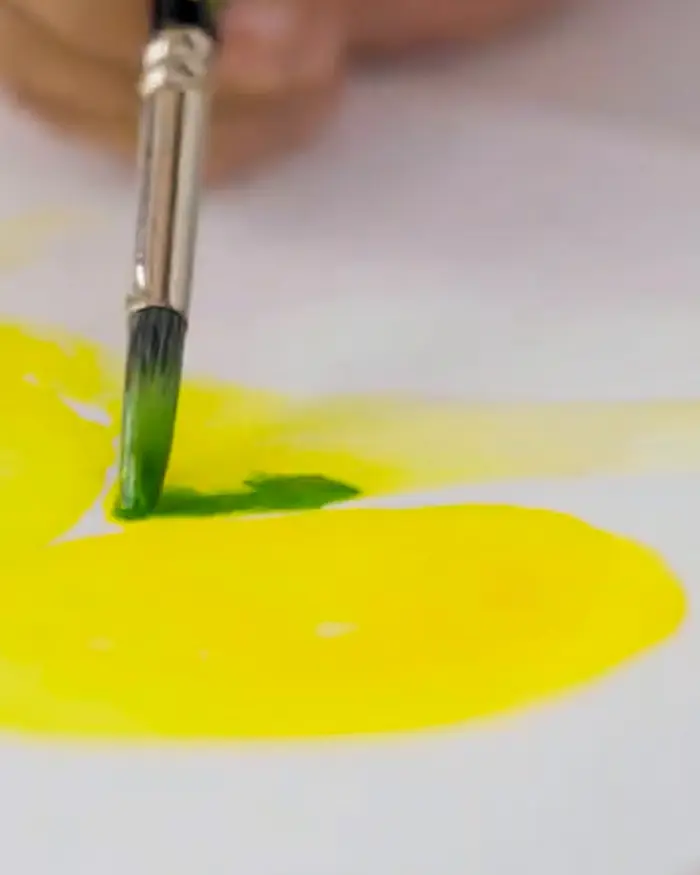
- Brush: Use a soft brush to spread the charcoal lightly. Use the tip of the brush to smudge the fine details.
- Blending stumps: The pointed tip can be used to define the edges.
- Tissue: The larger areas where you do not need precision can be blended with a tissue. Just wrap it around your hand and blend.
- Finger: When nothing seems to work, stick to good old ways. Use fingers to lightly smudge and blend the charcoal.
How to use charcoal pencils for drawing?
It may seem hard, but drawing with charcoal pencils is actually pretty easy. Just follow these steps and you will be able to make a nice charcoal drawing.
Step 1: Sketch the basic layout
Before shading, make a basic sketch. Use a light pencil to make the sketch. If you are not confident, then pick a rough paper and other drawing materials and practice sketching.
Step 2: Add shading
To add shadows and depth, smudge the charcoal a bit. Start smudging lightly and gradually get your hand at it. If you are not sure about smudging with your hands, use a blending stump.
Step 3: Build contrast
Define light, mid-tone and dark areas. Use more pressure for darker tones and a kneaded eraser for highlights. Contrast adds depth to your work.
Step 4: Define edges and add highlights
Define the edges and make them crisp and sharp. Use a kneaded eraser to erase around the pencil lines and create that dimension.
Step 5: Mark the outlines
Pick a hard-grade charcoal pencil and define the borders of your sketch, like how we use a black sketching pen to highlight outlines.
Step 6: Use protective spray
Apply a good layer of fixative spray. This will avoid any smudging in future.
Master drawing and shading with Camlin Charcoal Pencils
We at Camlin make sure you have the best drawing materials, starting with charcoal pencils. Use our hard-grade range to define the outlines and edges of your sketch, a medium-grade pencil to make strokes and a soft-grade pencil to shade and blend charcoal. Do not forget to use a blending stump and try a new blending technique.
So grab your drawing materials and Camlin Charcoal Pencils and let your creativity flow to create a stunning sketch.
Did this article help you learn something new?
Share your thoughts with us in the comments below.
Leave a comment
Comment added
Comment updated
Comment deleted
More inspiration
“
“Artists are just children who refuse to put down their crayons.”